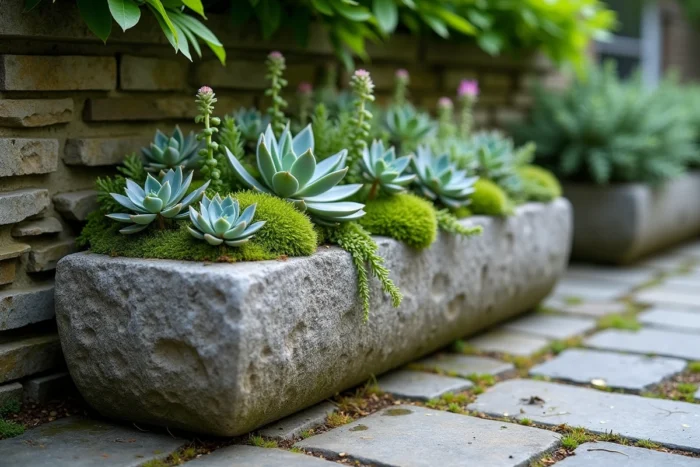
A stone trough recovered from a barn or found at an antique dealer presents a concrete problem as soon as you want to plant it: the substrate volume is low, drainage is often nonexistent, and exposure varies depending on where it is placed. Starting from these constraints, rather than from a plant catalog, completely changes the outcome. Here’s how to transform this character piece into a plant composition that lasts over time without requiring daily watering.
Drainage substrate and mineral mulch: the foundation of a self-sufficient stone trough
The first mistake is to fill the trough with universal potting soil. In a stone container, the potting soil retains too much water at the bottom and dries out into a crust on the surface. This results in roots that rot in winter and stressed plants in summer.
The effective mix is simple: one-third garden soil, one-third coarse sand (or fine gravel), and one-third well-decomposed compost. This draining substrate allows excess water to flow away while retaining enough organic matter to nourish the plants in their first seasons.
Before filling, check that the trough has at least one drainage hole. If the stone is solid, drilling with a suitably sized concrete bit remains the most reliable solution. A layer of shards or coarse gravel at the bottom, a few centimeters thick, completes the setup. To set up a stone trough correctly, this drainage is a non-negotiable condition.
A mineral mulch on the surface reduces evaporation and weeding. Spread pumice, river gravel, or stone chips to a thickness of two to three centimeters. This mulch also protects the plant crowns from contact with stagnant moisture, which limits rot in winter.
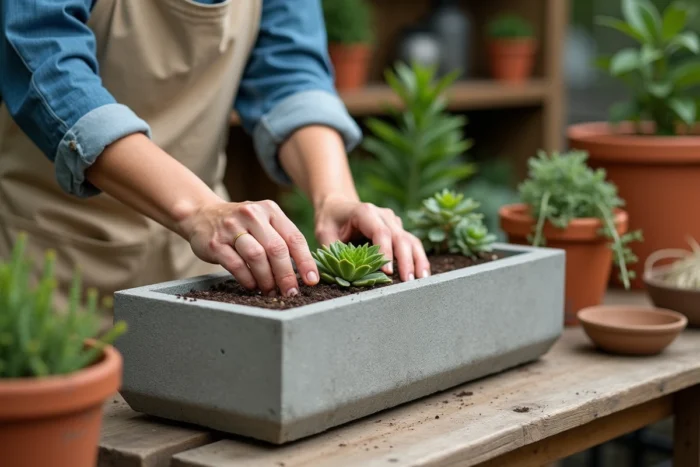
Rock garden plants in a trough: composing in three tiers for minimal maintenance
Rather than planting randomly, organize the trough into three levels of vegetation. This tiered structure creates relief in a small volume and limits interventions, as each plant occupies its niche without encroaching on others.
Lower tier: ground covers that carpet the stone
Sedums (stonecrops) are the most reliable candidates. They spread without needing to be trimmed, tolerate drought, and colonize the edges of the trough by cascading slightly. Sedum acre, Sedum album, and Sedum spurium offer different textures and colors that can be mixed.
Sempervivums (houseleeks) complement sedums by providing geometric rosettes that contrast with the low foliage. They require absolutely no watering once established.
Middle tier: compact clumps for structure
Thyme (Thymus serpyllum), Armeria maritima (sea thrift), or dwarf carnations form cushions that remain low and bloom generously. Their shallow root system is suitable for the limited volume of a trough.
You can also integrate a small grass like Festuca glauca, whose bluish foliage contrasts with the green of the sedums and the gray of the stone.
Upper tier: a discreet vertical accent
Just one slightly taller plant is enough to add depth. A small dwarf iris, a saxifrage with long flower stems, or an aubrieta planted at the edge cascading down creates this focal point without overwhelming the composition. Avoid plants with spreading roots that could invade the trough in one season.
- Sedums and houseleeks for the base, almost no maintenance after the first year
- Thyme, sea thrift, or dwarf carnations for structure and flowering
- One vertical accent (dwarf iris, saxifrage) for relief without clutter
Exposure and watering of a planted trough: adapting the choice to the terrain
The location of the trough determines the plant palette much more than personal preferences. A south-facing trough against a stone wall will heat up significantly in summer. Succulents, sedums, and houseleeks thrive there. In a north-facing or semi-shaded location, replace the sedums with moss, hepatica, or small ferns.
Moss deserves special attention. It naturally settles on damp stone and gives a highly sought-after ancient look. To encourage it, you can coat the internal walls with a mixture of plain yogurt and crushed moss; results vary on this point, but the technique is often mentioned by rock garden enthusiasts.
Regarding watering, the rule is to thoroughly moisten during the first year to allow roots to establish deeply, then to space out watering significantly. Most rock garden plants achieve their water autonomy by the second year. In mid-summer, a generous watering every ten to fifteen days is sufficient if drainage and mineral mulch are adequate.
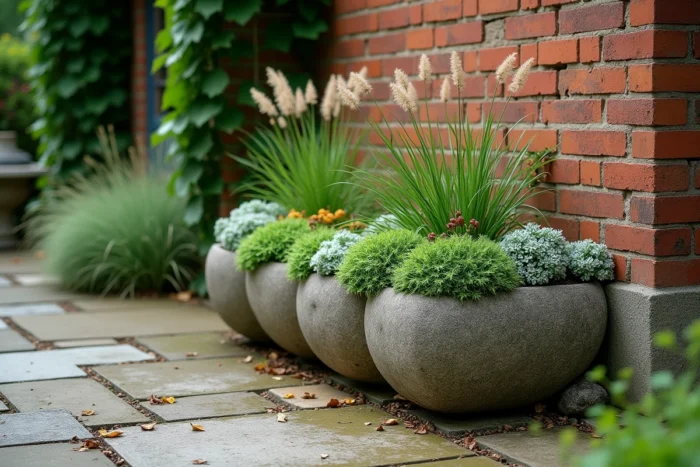
Common mistakes when planting an old stone trough
Overloading the trough is the most common reflex. We want to fill every inch, while a planted trough benefits from leaving some stone visible. The empty spaces between clumps allow the composition to breathe and let the mineral play its decorative role.
Another trap: choosing fast-growing or vigorous-rooted plants. A small shrub that seems compact in a pot can double in size in a year and smother everything else. Checking the mature size of each plant before installing it prevents the need to redo everything the following spring.
- Do not fill the trough with pure potting soil; always mix with sand or gravel
- Drill a drainage hole if the trough does not have one
- Leave at least one-third of the surface with visible stone or mulch
- Avoid plants with spreading roots (mint, some invasive sedums) in a small container
Finally, placing the trough directly on an impermeable surface blocks water drainage. Two stone or brick wedges under the base are enough to create a ventilation space. This simple detail protects both the roots and the stone from prolonged stagnant moisture.
A well-prepared trough, with the right substrate and plants suited to its exposure, requires barely a few minutes of attention per month once the first year has passed. The real work is done at the time of installation. The rest, the stone and the plants take care of themselves.