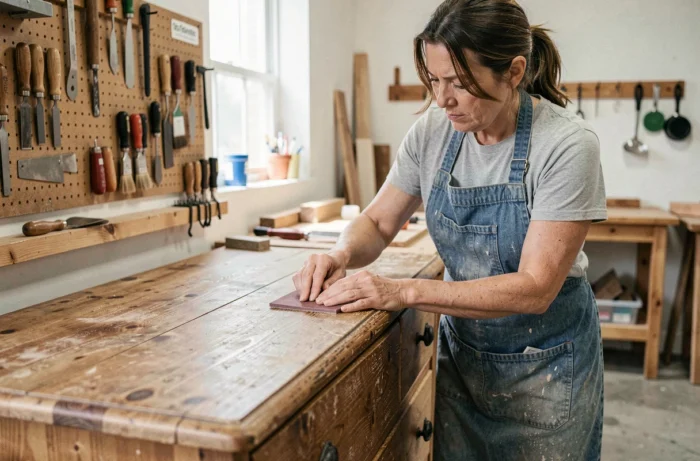
A 60s sideboard salvaged from a relative, a vintage dresser with peeling varnish: you rarely start with a piece in good condition when you decide to renovate a wooden piece of furniture. The result depends less on manual skill than on the order in which you carry out the operations, and especially on the choice of products applied to the surface.
Identify the wood type and actual condition before sanding
Most renovation guides jump straight into sanding or stripping. In practice, skipping the diagnosis leads to costly mistakes. A solid oak piece does not react at all like a veneered piece: sanding too hard on a veneer of a few tenths of a millimeter will destroy it.
Start by removing the drawers, disassembling the handles, and examining each joint. Look for signs of woodworm (small round holes with wood dust), areas softened by moisture, and loose gluing. A screwdriver gently pressed into a suspicious area allows you to check if the wood is still sound deep down.
On antique furniture, you often find several layers of finish stacked: wax, varnish, then paint. Lightly scraping a discreet corner with a utility knife helps to understand what needs to be removed. This step guides the choice between chemical stripping and mechanical sanding, and to delve deeper into the subject, you can discover Philippon Architecte which details common scenarios.
Stripping and sanding wood: choose the right method according to the finish
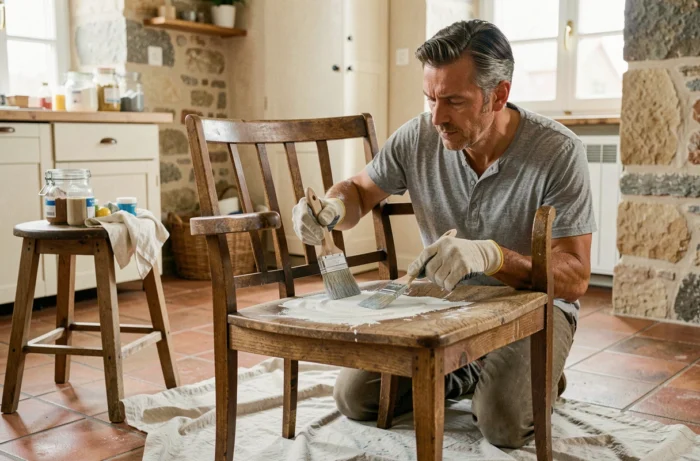
On an old piece covered with several layers of paint, chemical stripper remains the most effective solution. Gel strippers adhere better to vertical surfaces and limit drips. Apply a thick layer with a brush, let it act for the indicated time, then remove the softened paint with a wooden spatula (not metal, to avoid marking the wood).
Sanding always comes after stripping, never instead. Sanding directly on thick paint clogs the sandpaper in seconds and leaves residues in the fibers. After stripping, sand in three progressive passes:
- Medium grit (80-100) to remove finish residues and flatten surface defects
- Fine grit (120-150) to smooth out scratches left by the first pass
- Very fine grit (180-220) to prepare the wood for the new finish without snagging
Always sand in the direction of the wood grain. A circular or perpendicular motion creates visible scratches as soon as you apply a stain or varnish. Between each pass, dust the surface with a slightly damp cloth.
The case of moldings and carvings
Ornate parts (moldings, turned legs, cornices) should not be sanded with an orbital sander. Use hand-folded sandpaper or soft abrasive sponges that conform to the reliefs. The chemical stripper does most of the work here: let it act longer in the recesses, then brush with a soft brass brush.
Filling and structural repair of the furniture
Before any finishing, every crack, woodworm hole, or chip must be addressed. Commercial wood filler works for small defects, but it does not take the exact shade of the wood once the finish product is applied. Opinions vary on this point: some tinted fillers yield an acceptable result on pine, less so on walnut or cherry.
For larger defects, you can make a mixture of wood glue and sanding dust collected from the piece itself. This mixture is closer to the final shade since it contains the same wood type.
Loose joints (tenons and mortises, dowels) are re-glued with white PVA glue, tightened with clamps for at least twelve hours. Forcing a joint without properly re-gluing guarantees that the furniture will move again in a few months.
Finishing the wooden furniture: varnish, paint, or oil
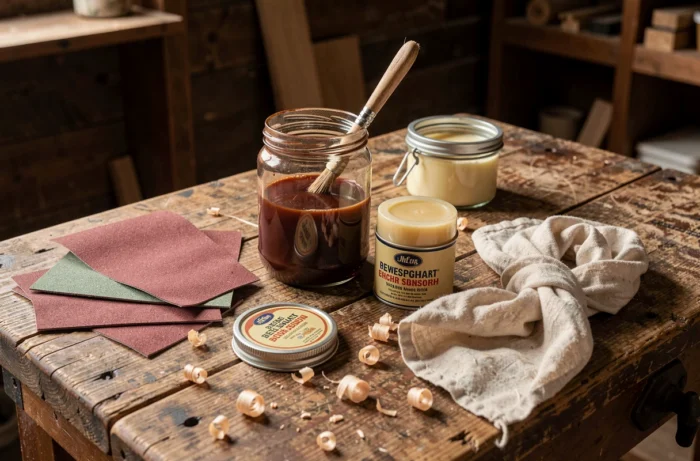
The choice of finish radically changes the final appearance and future maintenance. Three main options are available, each with different constraints.
Varnish offers the best protection against stains and moisture. Water-based varnishes have improved significantly: they yellow less than traditional polyurethane varnishes and dry faster. Two to three thin coats are better than one thick coat, with a light sanding using 220 grit between each layer.
Furniture paint allows for a complete makeover. For a durable result, a suitable primer for wood is necessary, especially on already varnished surfaces. Satin acrylic paints are the most versatile for everyday furniture. The choice of colors influences the perception of volume: light shades visually enlarge a bulky piece, while dark colors give it a more sculptural effect.
Oil (linseed, tung, or specific furniture oils) penetrates the fibers and does not form a surface film. The touch remains natural, but the protection is less. It is well-suited for decorative furniture that is not heavily used.
European regulation on formaldehyde: what changes for renovated furniture
A rarely addressed point in renovation tutorials concerns regulation. The European Union has introduced, via Annex XVII of REACH, formaldehyde emission limits applicable to furniture starting August 6, 2026. The set limit is 0.062 mg/m³, measured on the finished furniture in a standardized test chamber.
For individuals renovating a piece for their own use, the direct impact is limited. However, artisans or micro-entrepreneurs reselling renovated furniture must ensure that the panels, glues, and varnishes used comply with this standard. Prioritizing low VOC glues and varnishes becomes a reflex to adopt now, both for future compliance and for indoor air quality.
The market trend for furniture is also in line with this movement. Reclaimed wood and upcycled furniture are gaining ground against new furniture, driven by a growing demand for unique pieces and more responsible consumption. Renovating an old wooden piece is no longer just a creative hobby; it is also a process that fits into a rapidly structuring market.